Happy October!!!
KRINGLE
Filled
Coffee Cake
I looked in our pantry (really a pre-fab closet
standing in the walking space between our kitchen and front living room) only
to discover that we are decidedly out of cereal. To
The Scandinavian Cookbook!
Kringle Filling
¼ C flour 1
½ C water
¾ C butter 1
½ C golden raisins
1 pkg yeast
OR 2 ¼ tsp yeast ¼
C butter
¼ C warm
water 1
tsp cardamom
1 egg 2
C confectioners’ sugar
¾ C milk 2-3
tbsp cream
3 tbsp sugar
1 tsp salt 1/3
C almonds
3 C flour,
divided 1/3
C sugar
Cut butter
into flour with a pastry blender. Shape mixture into a ball and place on wax
paper. Cover with another sheet of wax paper and roll into a 10x4 rectangle.
Chill.
Soften yeast
in water. Beat egg and stir in milk, sugar, and salt. Blend in 1 C flour, then
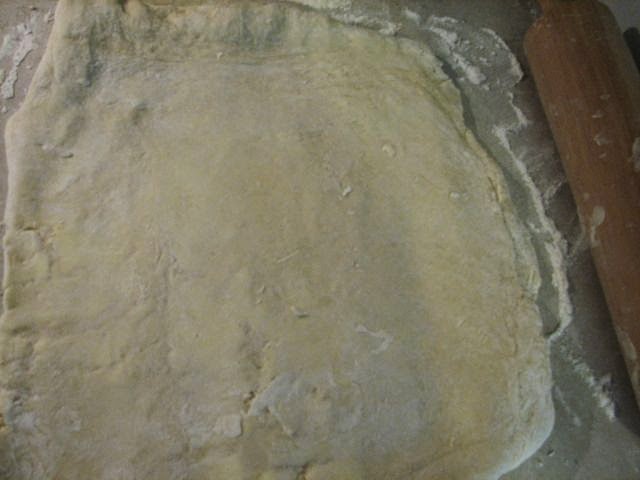
add yeast. Add enough remaining flour until dough forms a smooth ball. Roll
into a 12 in. square. Remove chilled butter mixture from wax paper and place in
the middle of the rolled out dough. Fold dough over butter mixture. Turn dough
¼ way around and roll into a 12 in. square. Fold and roll out, turning ¼ way
around each time, twice more. Wrap dough in wax paper and chill for 1 hr.
Meanwhile,
prepare filling. Bring water to boiling and add raisins. Drain raisins and set
aside. Cream together butter and cardamom. Add confectioners’ sugar gradually,
then blend in cream until mixture is of a spreadable consistency. Mix in the
raisins and set aside.
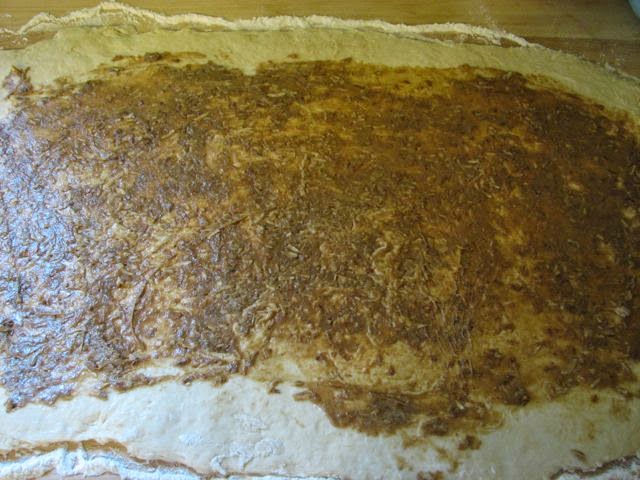
Remove
chilled dough from wax paper and roll into a 24x12 rectangle. Cut lengthwise
into 2 strips. Spread each strip with one-half of the filling.
Starting with
one long side of the dough, roll up each strip tightly and pinch to seal.
Carefully stretch rolls to 30 in. long. Transfer each roll to a greased baking
sheet and shape into a pretzel. Gently flatten dough. Brush each pretzel with
egg wash and sprinkle with a mixture of sugar and almonds. Let rise until
doubled. Bake at 375oF for 25 to 30 minutes.
I can’t say this enough: THIS IS AMAZING! Kringle
is my new favorite breakfast (or dessert, or snack). It’s light, flaky, sweet
(but not too sweet), and the cardamom adds a neat spicy background flavor.
As for the raisins, my husband’s not big on cooked
fruit (the only apple pie he will eat is of his own creation, hates fruit in cookies and
cakes and pies, you get the picture). When I cut him his piece of Kringle, I
anticipated a criticism of the raisins. Instead, “Wow, this is great. This is
cooked fruit I would actually eat! This would even be good with peaches!”
Well, if this recipe needed any more of a
recommendation, that was it. It’s delicious, good days later re-warmed, and the
fruit can be changed out for whatever strikes your fancy. I think you should
definitely try making a Kringle the next time you’re out of cereal.
Have a question or a request? Put it in the
comments below and I’ll be sure to respond. Fröhe essen!